


Zoom
How to Create and Host a Zoom Meeting
Registering on Zoom
Organizing a Zoom meeting is not difficult but requires attention to detail. Here’s a simple guide to help you run your event smoothly and without any issues.
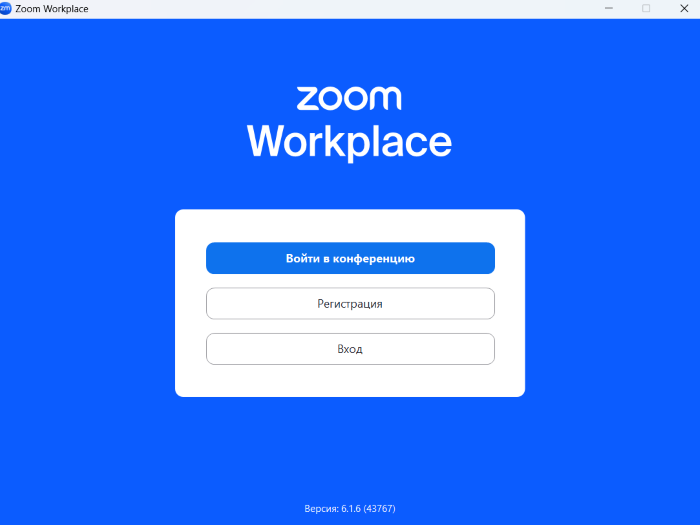
Step 1. Prepare (see Fig. 1):
Before you start, define the purpose of your meeting. It could be a work meeting, training session, webinar, or project discussion. It’s important to know your audience and what message you want to deliver.
Choose a plan. Zoom offers different plans, starting with a free one that allows meetings up to 40 minutes long with up to 100 participants. If you have a larger audience or need more time, consider paid plans.
Create an account. If you don’t have a Zoom account yet, sign up—it only takes a couple of minutes. After registering, make sure your account is confirmed and active.
Schedule a Meeting
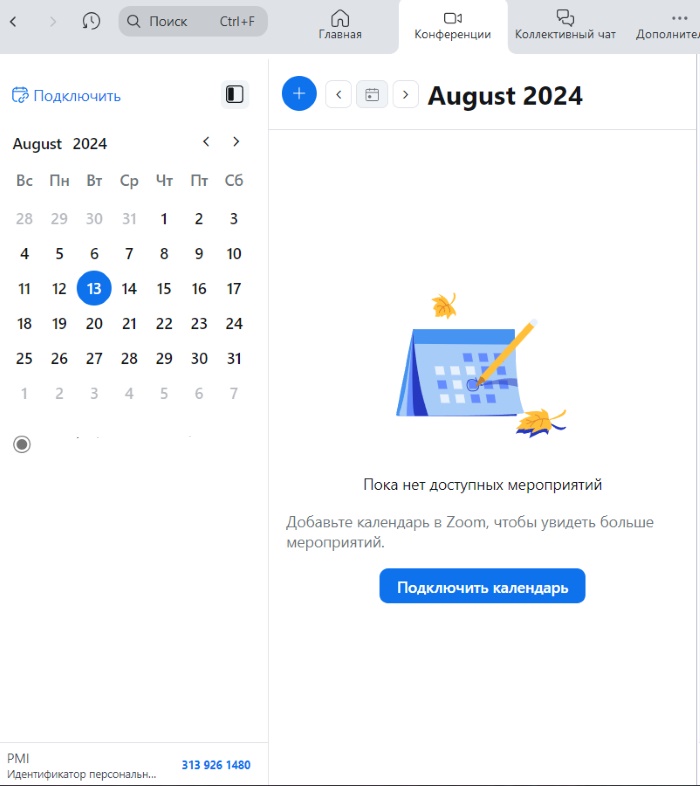
Step 2. Schedule your meeting (see Fig. 2):
Choose the date and time. Keep in mind participants’ time zones to pick a time that works for everyone. Zoom lets you sync meetings with calendars like Google Calendar, helping attendees remember the event.
Create the meeting in Zoom. Log into your account and select “Schedule a Meeting.” Here, enter the date, time, duration, and meeting topic. An important step is setting up access controls—some meetings may require a password or a waiting room to manage participants.
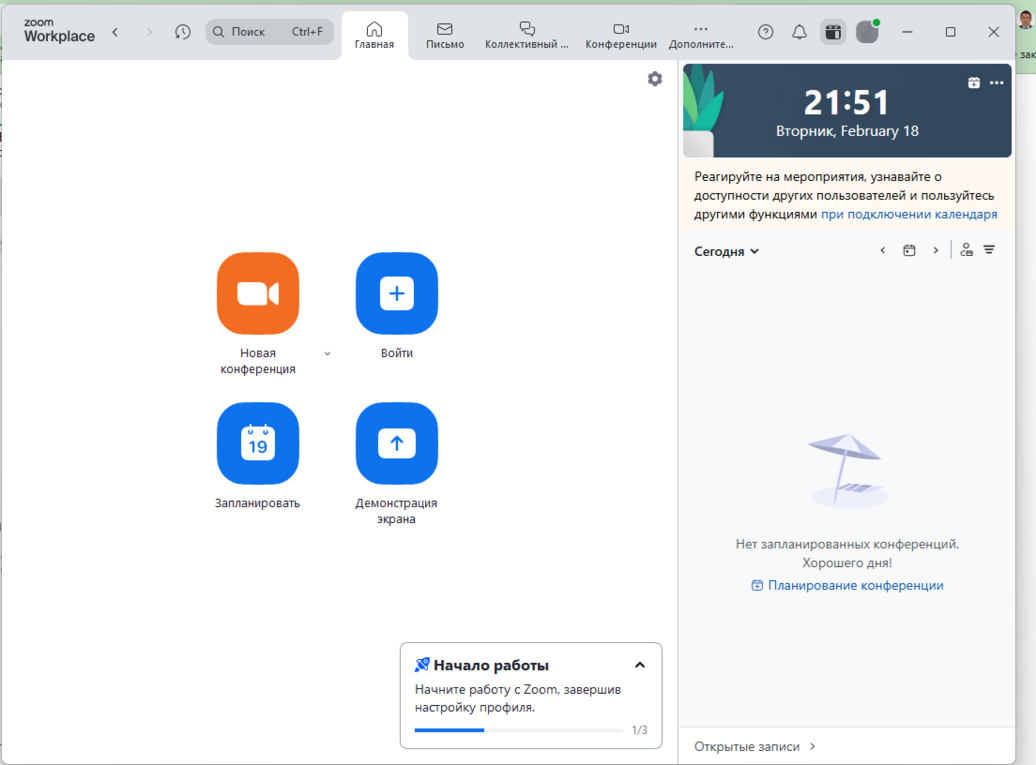
When you go to the Home menu, you have the following options:
- Start a New Meeting immediately.
- Join a Meeting created by others. You’ll need to enter the Meeting ID or name, and your display name.
- Schedule a New Meeting for a later time.
- Share Your Screen by entering the Meeting ID or passcode.
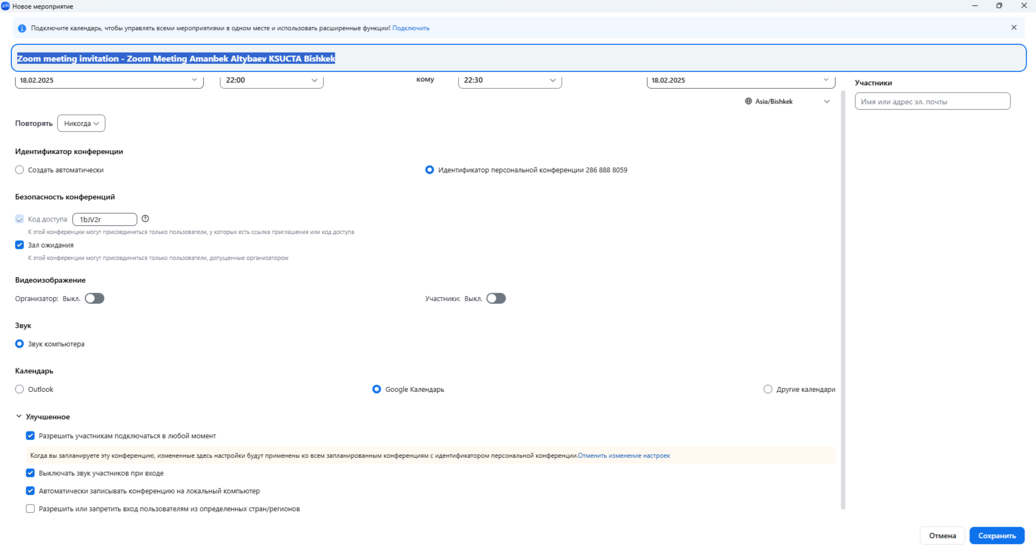
When scheduling a new meeting, the following window will appear where you need to enter the following details:
- Meeting/Conference Name — enter the title of your event.
- Set the date, start time, and end time.
- You can use the “Repeat” feature to schedule the meeting daily, weekly, monthly, or based on other parameters.
- Choose the Personal Meeting ID if you want participants to join using the same permanent ID on any other day.
- If you enable the “Waiting Room”, participants will wait outside the meeting until you admit them. If you don’t enable this, they will enter the meeting immediately.
- In the “Advanced Options” section, you can select additional features at your discretion. These are optional but can help automate certain tasks.
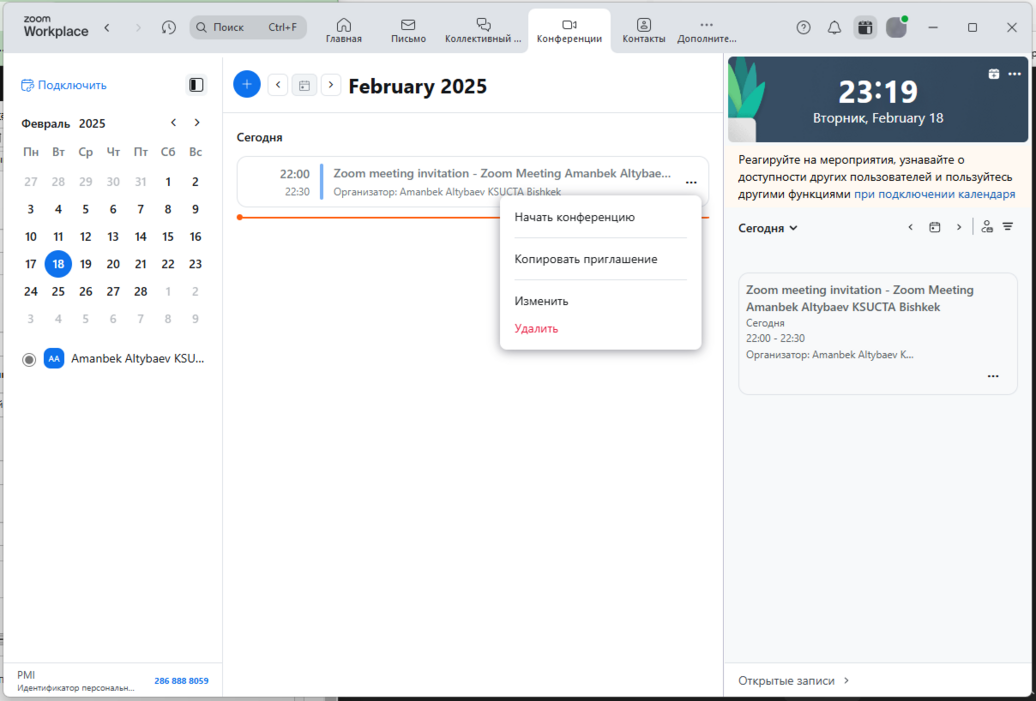
After clicking the Save button, you will see a list of your scheduled meetings.
By clicking the three dots next to the meeting name, a menu will open where you can:
- Start the meeting;
- Copy the invitation and send it to participants via WhatsApp, Telegram, or email;
- Edit or Delete the meeting.
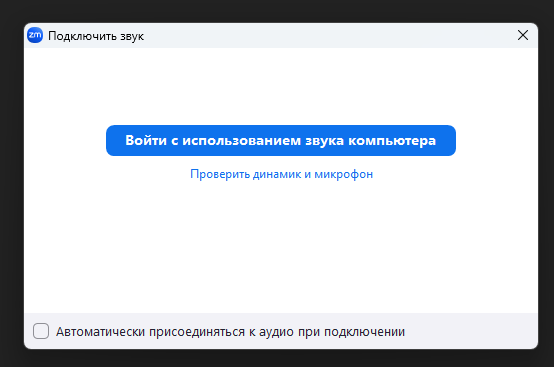
Before starting, the system will ask for permission to use your computer’s audio. You need to agree by clicking Join with Computer Audio, otherwise you’ll have to manually set up your microphone, speakers, and camera.

Conducting the Conference
Step 3. Technical preparation:
- Invite participants. After creating the Zoom meeting, you will get a link to send to participants. You can also add a password to secure the event.
- Check your equipment. A day before the meeting, test your camera, microphone, and internet connection to avoid any unpleasant surprises.
- Prepare your materials. If you plan to present or share your screen, open all the necessary files and browser tabs in advance so you don’t waste time searching during the meeting.
Step 4. Running the conference:
- About 10–15 minutes before the meeting starts, open Zoom and launch the conference. Participants can start joining, and you’ll have time to make sure everything is working properly.
- Begin with a brief welcome and remind participants about the rules: how to mute/unmute microphones, how to ask questions. You can suggest using the chat for questions to avoid interrupting the speaker.
- Zoom offers many useful features. For example, you can share your screen, record the meeting to send it later to participants, or break participants into separate breakout rooms for group discussions.
In the app interface, you’ll find many handy controls, usually along the bottom left to right:
- Mute/unmute your microphone, speakers, and turn your video on/off.
- View participants (a window usually appears on the right showing all attendees).
- Open the chat to communicate with conference participants.
- Share content with participants — clicking this opens a central window where you can share your entire screen, specific browser tabs, or documents.
- Pause, resume, or stop recording the meeting.
- End the meeting for everyone or just leave the meeting yourself.
At the top, next to the “View” option, you can choose how participants are displayed on the screen: Speaker View, Gallery View, Multiple Speakers, Immersive View, etc.
Ending the Conference
Step 5. Finish the meeting:
- At the end of the meeting, summarize the key points and outline the next steps.
- Say goodbye to the participants, stop the recording, and end the meeting. You can choose either “End Meeting for All” or “Leave Meeting”.
- The program will automatically process the media file. Do not turn off your computer until this process is complete.
- After the meeting, you can send a short survey to participants to gather their feedback and find out what can be improved next time.
- Upload the recorded file to your corporate Google Drive and share the link with the Academic Department.
Good luck!
IT Department, KSTU


